6 Fun Structure of DNA Activities to Try
Today, I made a joke in my biology class and not one student laughed. Can you believe it?!
I guess my thymine was off…
*crickets*
Ok, ok… all joking aside – we all know that teaching complex scientific concepts like DNA structure can sometimes feel like an uphill battle, where it all seems like an intricate puzzle waiting to be unraveled.
But what if I told you that learning about the fascinating structure of DNA doesn’t have to be a tedious task for your students?
In this blog post, I am so excited to share with you six incredibly fun and innovative Structure of DNA activities that will turn your classroom into a hub of excitement and discovery.
From extracting fruit DNA to Doodle Notes, your students will be begging for more!
Let’s begin…
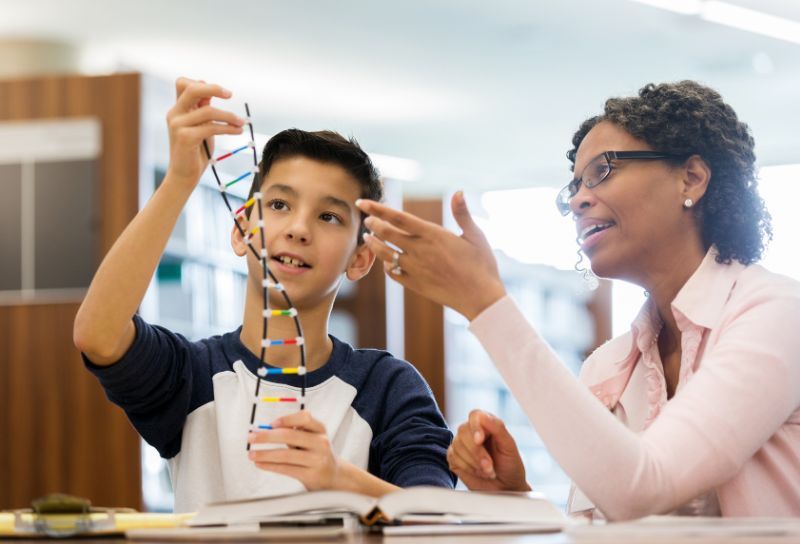
1 – Create a 3D double helix model
I think it goes without saying that one of the most iconic visuals in biology is the structure of DNA. This double helix holds the key to life itself.
While students are aware of pictures showing DNA, they may not fully understand what makes up the double helix. There is no better way for students to understand DNA structure than by creating a 3D visual using common materials like pipe cleaners and beads, toothpicks and Styrofoam balls, or even candy!
This is one of my regular structure of DNA activities, year after year.
MODEL 1: Pipe Cleaners and Beads
If you want to use pipe cleaners and beads, here is what you will need:
- Different-colored pipe cleaners (2 for each student or group)
- Assorted beads (4 colors to represent adenine, thymine, cytosine, and guanine)
Once you have the materials, here is what your students will do:
- Choose one color of your pipe cleaners and cut them in 2” sections. Leave the other color at its full length.
- String beads onto your 2” pipe cleaners to represent the base pairs. Be sure your students are using complementary pairings!
- Connect your 2” pipe cleaners to the full length pipe cleaners, so the structure now looks like a ladder.
- Twist your pipe cleaner strands into the double helix shape.
MODEL 2: Styrofoam balls and toothpicks
Another option would be to use styrofoam balls and toothpicks. If this is the route you want to go, here is what you will need:
- Toothpicks (enough for each student or group)
- Small Styrofoam balls (16 sugar balls, 14 phosphate balls, and enough styrofoam balls for the DNA strand you want them to make)
- Paints or markers (to color the Styrofoam balls)
- A needle and thread
Once you have the materials, here is what your students will do:
- Paint the styrofoam balls. Choose six different colors – one for the phosphate, one for the sugar, and four for the nitrogenous bases.
- Pair the colored styrofoam balls with their complementary bases on toothpicks.
- Use the needle and thread to connect 15 alternating sugar and phosphate styrofoam balls.
- Attach the toothpicks with the nitrogenous bases to the styrofoam balls on a string.
- Twist into a double helix.
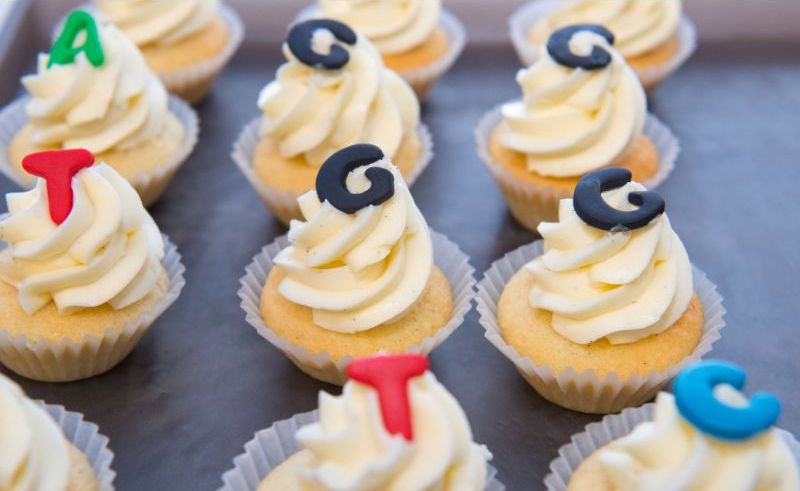
MODEL 3: Candy!
Now, while the two options above are great, we all know our students love candy. You can easily swap out the materials for similar candies, such as licorice for the backbone of DNA and gumdrops for the nitrogenous bases.
If you decide to use candy, just follow similar procedures as the above!

2 – Create a discovery of DNA timeline
Intriguing.
Competitive.
Groundbreaking.
No, I’m not talking about the latest thriller movie to hit the movie theaters. I’m talking about the discovery of DNA structure.
Many students do not understand how intense the discovery of DNA structure was, but it could definitely create some engagement for you.
Allow your students to take a trip through history and retrace the steps of unraveling DNA structure.
First, choose whether you want this to be completed in small groups or individually.
Explain to students that they will be creating a visual representation of the experiments and research that led to the discovery of the DNA structure. Mention some of the key scientists they’ll be learning about, such as Rosalind Franklin, James Watson, Francis Crick, and Linus Pauling.
Provide resources such as books, articles, and websites for research. Encourage students to find images or draw pictures of the scientists and their apparatus.
This would be a great project to allow students some creativity. For instance, they could create a poster or choose to complete a video project. By allowing students the choice, they will be more likely to take ownership of their learning.
Once all of the projects are completed, you can have students present them to the class.
3 – Extract DNA from a strawberry
Imagine your students’ faces when you tell them that you can take the DNA out of fruit and actually see it…
I bet they won’t believe you.
I know my students are always amazed when we complete this lab and they pull out the DNA from a strawberry, banana, or other type of fruit. And it’s quite simple!
Here’s how you would go about this:
- Give each group a strawberry.
- Students will then place the strawberry in a Ziplock bag and seal it tightly. Using their hands, they should gently crush the strawberry until it becomes a pulpy mixture.
- Guide your students through creating the DNA extraction solution by combining the following ingredients in a cup or test tube:
- 1 teaspoon of dishwashing detergent
- 1 pinch of table salt
- 100 mL of water
Make sure that the students don’t make the mixture extra foamy.
- Have your students add about 5 mL of the extraction solution to their crushed strawberry mixture in the Ziplock bag. Seal the bag again and gently massage the bag to mix the contents.
- Place a coffee filter or a piece of cheesecloth over a funnel and set it on top of a clear plastic cup or test tube. Carefully pour the strawberry mixture through the filter to separate the liquid (containing DNA) from the solid strawberry pulp.
- Instruct your students to slowly pour ice-cold rubbing alcohol down the side of the cup or test tube. This is where they will begin to see the DNA form.
I have even taken this a step further with my higher level classes and had them determine which type of fruit produced the largest amount of DNA. This always leads to a great discussion about the number of chromosomes in different plants and animals.
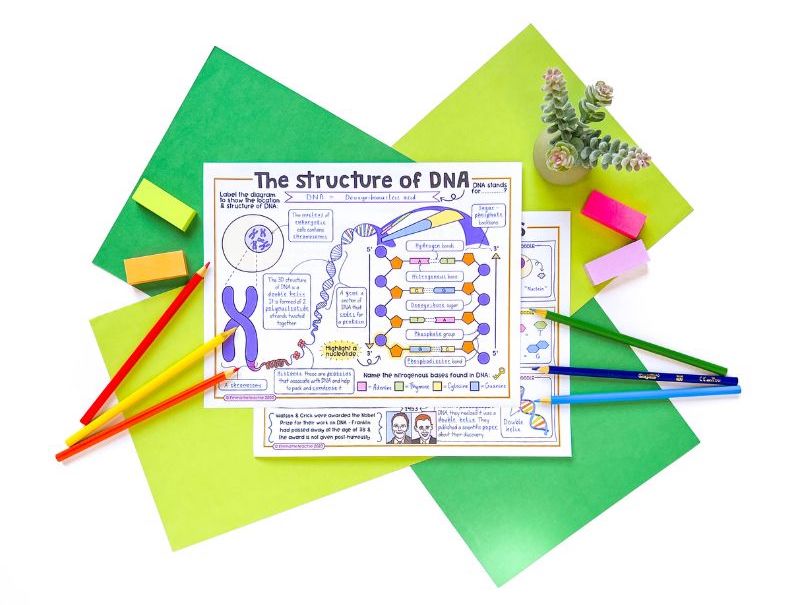
4 – Use structure of DNA Doodle Notes
I bet you couldn’t see this coming…
*insert winking emoji*
If you’ve been around for a while, then you know, but if you’re new, check out my blog post on why I love Doodle Notes here.
Doodle Notes are an excellent activity for visual learners and can help students with a variety of concepts in biology.
Lucky for you – I have already created a set of Doodle Notes for DNA Structure, and you can find those here.
Provide your students with the handouts and encourage them to personalize their notes by adding colors, symbols, and creative annotations that highlight key information. Your students will love the helpful diagrams and easy-to-complete format.
Students can also use these Doodle Notes as study guides to review before the test.
5 – Use a video about DNA structure
I’m going to a semi-old school with this one.
While there are a countless number of new technological tools and simulations being created, sometimes you just need a good ‘ol YouTube video.
YouTube videos help bring the idea of DNA structure to life in ways that traditional textbooks simply can’t match.
With the click of a button, you have free video content about DNA’s double helix, interactive simulations of DNA replication, interviews with renowned geneticists, and so much more.
An example of an engaging, but educational video is linked here, where you can learn about Rosalind Franklin’s contributions to the structure of DNA.
One way I like to use YouTube videos is to upload them to EdPuzzle. I love EdPuzzle because you can disable skipping, which forces the students to watch the whole video. I also utilize the feature where students are required to answer embedded questions throughout the video.
EdPuzzle can be used as a great formative assessment tool.

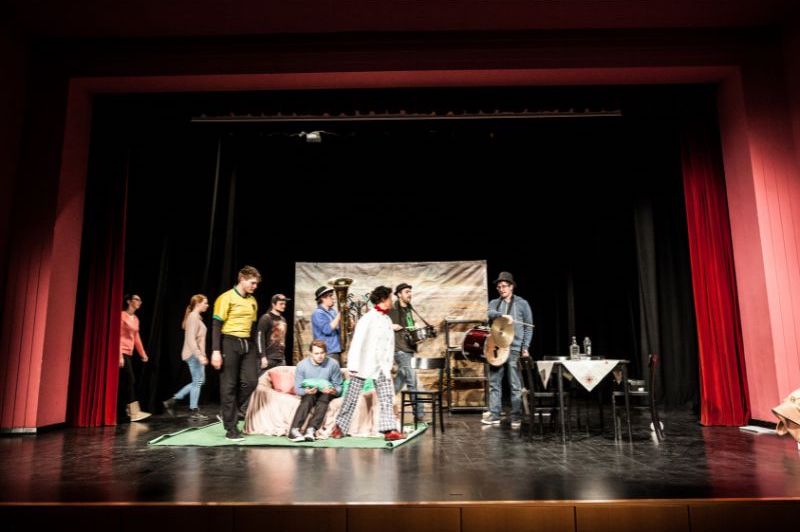
6 – Use your students as DNA characters
Nothing is as engaging as when the students are (quite literally) playing an active role in their learning.
To teach DNA structure, you can have the students build the structure with their own bodies!
As students enter the classroom, give each student a card with a DNA base written on it (A, T, G, C).
Then, the students are required to form base pairs. Students will find their complementary base by finding another student with the correct base written on their card.
Once bases are paired, they have to get themselves into the order of the DNA strand shown on your board (you will need to project or draw this).
Finally, your human DNA will also need a sugar-phosphate backbone.
You can get creative with this! If you have lots of meter rulers, you could use these, or a long rope.
Be sure to go through the base pairs one-by-one to check they got the pairings and order correct!
Which of these Structure of DNA activities will you try?
I hope you found my overview of structure of DNA activities helpful. Take action by picking one activity to try out with your students this year!
Biology is hard.
We all know that.
Embrace the power of hands-on learning, and watch your students become budding geneticists, ready to unlock the secrets of life’s blueprint!
Happy teaching, and may the double helix always unravel its wonders in your classroom!
I hope you have an ex-cytosine day,
P.S. ex-cytosine… exciting… get it?! I’ll see myself out…