Winter Science Activities to Warm Up Your Students
It’s the most (scientifically) wonderful time of the year!
The air has a chill to it… Everyone is rushing to get their shopping done… There is the anticipation of a *much needed* school break…
While the winter season is so much fun, it is very busy. As we flip the calendar to December, the students (and us) are looking forward to the upcoming school break, which also means the students’ engagement may have gone down.
So… How do you keep students engaged?
Ignite their curiosity and wonder with winter science activities. Themed activities aren’t only for elementary students!
Winter brings about so many science related topics that it is impossible to cover them all.
Today, I want to share with you five engaging winter science activities that will not only warm your students up, but also provide them with science lessons that they will remember for many winters to come.
Grab some hot chocolate and let’s go!

1 – The Science Behind Christmas

If your school celebrates Christmas, then what better activity than to explore the science behind Christmas!
This activity focuses on one Christmas tradition – the Christmas tree.
Students will answer 12 multiple choice questions that link science to Christmas, before adding an object to build their very own Christmas tree.
Example: “Glass is a colorless material that can be used for making ornaments. What is the MAIN component of glass?”
Options: Sand – Silicon dioxide, Lime – Calcium oxide, Soda ash – Sodium carbonate
Instruction: Add glass ornaments to your tree! There are different shapes and colors to choose from!
This is a really fun way to keep your students engaged in your lessons in the lead up to Christmas, while still reviewing scientific concepts across different areas of Science.
If your students don’t know the answer to a question, I recommend letting them do some research to figure it out.
Your students will be so proud of their finished Christmas trees!

To finish up, students can download their creation as a JPEG image, and share it with someone special as a Christmas card.
One of the best parts about this activity?
It is ZERO PREP.
Yep, seriously. All you need to do is assign the student questions and the students slides on your Google Classroom. Everything else is done for you! Answer keys = done. Instructional video = included!
Time to sit back and sip some hot chocolate.
2 – The science of snowflakes

Who doesn’t love snow? I mean… we get snow days because of it, which are basically surprise gifts.
Many students don’t know all of the connections that exist between science and snowflake formation. This would be a great cross-curriculum activity.
You could easily make this into a jigsaw activity. The students could be split into 4 content groups, which would include chemistry, geometry, weather, and environmental.
Each group would research about snowflakes in their given content area and report back to the class.
Below are some examples of topics that students may share and discuss:
- The chemistry group could discuss the process of nucleation, which is how the snowflake forms.
- The geometry group could share how snowflakes have different shapes, such as hexagons, and what role symmetry plays.
- The weather group could demonstrate how different factors, such as temperature, humidity, and atmospheric pressure, affect the size and shape of snowflakes.
- The environmental group could study the effects of El Nino and La Nina on snowfall amounts in your area or around the country.
After the jigsaw activity, put their research into action!
If you live in an area with snow, take your students outside. You should plan to leave the paper, paintbrushes, and microscope slides outside so they are *literally* freezing. If the materials are too warm, the snowflakes will instantly melt.
You can use snow on the ground, but falling snow is much easier.
Have students hold a piece of black paper to catch falling snowflakes. Students will then use their paintbrush to transfer a snowflake to the microscope slide. Finally, observe!

If you do not live in an area with snow, then you can always find highly detailed images online to observe.
After observing real snow, allow your students to have a little fun and create their own snowflakes with borax.
I love this activity because it is so easy and it engages students every time.
First, have students create their snowflake shape with pipe cleaners and attach a string.
Then, mix boiling water, borax, and food coloring, which is optional, in a jar. Students will place their pipe cleaner creations in the solution overnight.
Sit back and watch their amazement when they come to class the next day and they have their very own crystallized snowflake!
2 – Explore freezing point with ice-cream

One thing about winter is that it’s cold.
Many students understand that water freezes at zero degrees Celsius, but they may not know that freezing point can be altered.
Introduce students to freezing point depression by making ice cream!
The ice cream lab is one of my favorite winter science activities (you know how much I love ice cream, right?!). Your students will also not complain about getting to make and eat ice cream.
This lab is simple and you don’t need a lot of ingredients.
Here is what you need:
- Heavy cream
- Sugar
- Vanilla extract
- Ice
- Rock salt
Once students have all of the ingredients, they will mix the heavy cream, sugar, and vanilla extract in a sandwich bag and the ice and rock salt (a lot) in a gallon size bag.
Making sure the sandwich bag is sealed, students place the smaller bag into the gallon bag. Seal the gallon bag.
Now, students will shake and roll the bags to mix the ingredients. The rock salt lowers the freezing point of the ice, which will make the ice cream mixture freeze.
Once the ice cream is to its desired consistency, students can eat their creation. Feel free to include additional ice cream toppings, if you wish!
Here is a video that shows you the steps described above:
After the activity is complete, discuss the process and properties with your students. The discussion will lead to real-life applications of freezing point depression, such as why salt trucks salt the road before a large snow storm.
3 – Observe the winter solstice

I truly believe the winter solstice is one of the most overlooked events of winter, but it is actually one of the most important.
Before winter break starts, engage students in a lesson about the winter solstice.
At the beginning of the lesson, start with a KWL chart for students to show what they know about the winter solstice and what they want to learn. Have students keep this chart until the end of the unit.
Then, students can create a brochure about the winter solstice. Students can play the role of a tour company with the brochure being about the Winter Solstice Extravaganza.
Before the creation of the brochure, students will need to research and understand how the Earth’s tilt affects climate and seasons. This information will need to be included in the final project.
You could even take it a step further and require students to include one cultural celebration centered around the winter solstice. By doing so, students will have the opportunity to learn about new cultures, as well as learning to have respect for other cultures.
Once all of the research is completed and the project is turned in, put their studying into action!
Invite your students to an observation of the winter solstice during sunrise or sunset.
Since the winter solstice takes place during winter break, you can’t make this a mandatory activity. Just invite all of your students and if they want to come, they will.
As students watch the sunrise or sunset, they should write down their observations for a discussion when they get back to class. At the end of the unit, ask students what effect the winter solstice and summer solstice has on their lives.
4 – The physics of snowballs

SNOWBALL FIGHT!!!
Doesn’t that bring back so many memories of childhood?!
Keep that childhood magic alive for your students by letting them explore the physics of snowballs.
Have your students come to school prepared and take their learning outside, with warm waterproof clothes and gloves.
Let the students experiment the effect of different factors on distance traveled by the snowball.
Independent variables could include:
- shape
- size
- packing density
- throwing angles
After students have tested different factors, have them individually build the best snowball that they can. You can run different trials to determine how the construction of their snowball affects the distance thrown.
Once back in the classroom, you can discuss how physics and trajectories played a role in the success (or failure) of their snowball throwing.

Now, I am sure some of you are saying, “It doesn’t snow where I live.”
Don’t worry – I got you covered!
You can make your own snow with diapers. Yes, you read that correctly.
If you want to bring some winter fun into your classroom, buy a pack of diapers. Then, open the diapers to expose the sodium polyacrylate inside.
Put the sodium polyacrylate inside a DEEP bowl.
No… before you move on – get a deeper bowl. Trust me.
Add water to the bowl. Make sure you are only adding a little at a time until you reach your desired consistency.
Use your hands to mix.
If you want to make it cold like snow, just put the mixture in the refrigerator before class.
I hope your students enjoy this as much as mine do!
5 – Grow a polar bear

I love this activity for winter because it is simple, but effective.
All you need for this activity is:
- gummy bears
- cups
- distilled water
- salt
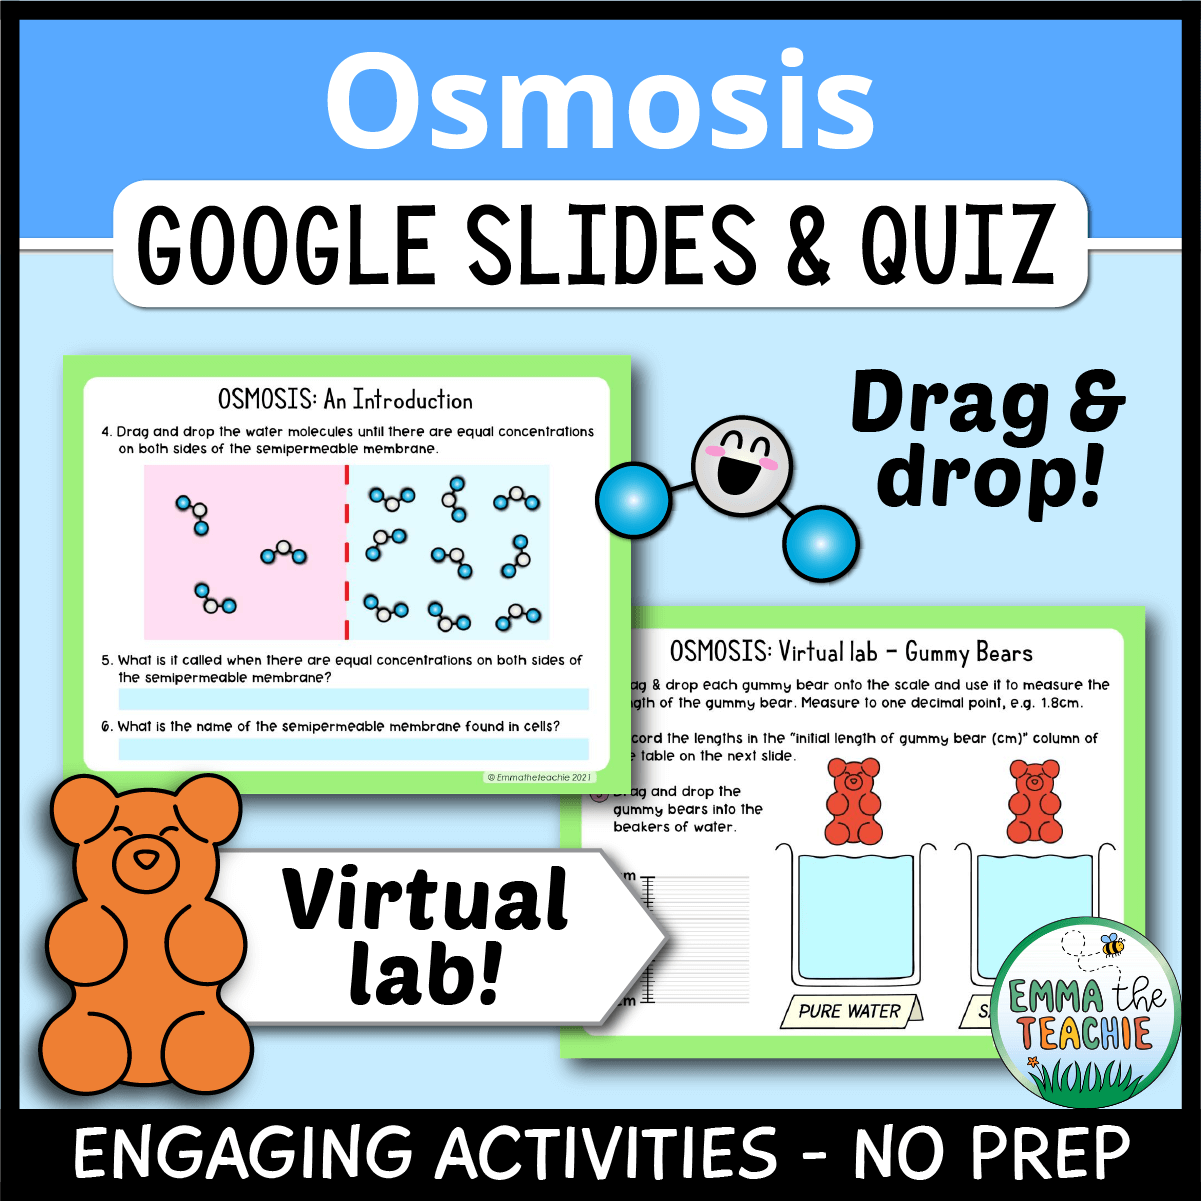
The main objective of this activity is to study osmosis, but I also like to add some graphing practice, as well.
First, have students take the mass and measure the dimensions of two gummy bears. Make sure they record this information.
Then, have the students place their gummy bears in a cup of distilled water and a cup of salt water. Let these sit overnight.
During the next class period, have students carefully take their bear out of the cup and record the new measurements.
My students are always amazed at the results and how the gummy bears are practically transparent. It’s the little things in life – ha!
Side note: my Osmosis Google Slides Activities have a virtual gummy bear osmosis experiment!
And I have some lovely Osmosis Doodle Notes that are a perfect review for this lesson.

After students have cleaned up the activity, have them complete their analysis, which includes the graphs. By doing so, the students should be able to explain the movement of water molecules by osmosis.
This will lead into an engaging classroom discussion about the importance of maintaining solute concentration in living organisms.
To extend this investigation, you could have students research the effects of improper solute concentration in humans.
Enjoy these winter science activities

Winter is such a magical season with the snow and family gatherings, but it can be magical in science, too.
So… bundle up and go warm up your students’ minds!
Make sure to share this blog post with a fellow teachie, and decide which winter science activities you are going to try with your students!
I hope you have a wonderful winter day,