8 Spooky Fun Halloween Science Activities
It’s spooky season! I love this time of year.
The leaves are changing, the air is crisp (as long as you don’t live in Florida), and there’s an excuse to do some really unique and spooky science activities.
By including engaging and hands-on activities that are Halloween themed, you can ignite your students’ curiosity and make their learning even more meaningful.
Today, we’ll explore eight spooky and captivating Halloween science activities that will have your students screaming for more!
1 – Mystery Halloween Items

This would be an excellent activity to practice observations and inferences, as well as claim, evidence, and reasoning.
This activity also gets bonus points because it’s easy to set up.
For this activity, you will need a variety of substances, bowls, and boxes. First, put the various items in bowls inside boxes so students cannot see them.
In order to keep with the Halloween spirit, label the boxes with gruesome names. For example, baked beans could be werewolf guts, a piece of cling wrap could be toad skin, or grapes could be human eyeballs. The possibilities are truly endless, and it allows you to release some creative energy.
During the activity, students have to feel the items without looking and describe them to their partner. As one partner describes, the other partner is writing down the observations. Using their notes, the students must decide what they think the item really is.
Then, at the end, reveal all items box-by-box to the class and enjoy the oohs and ahhs as students can’t believe what they were feeling. You could even make it a competition and award a small prize to the team with the highest number of correct items.
2 – Eerie Ooze
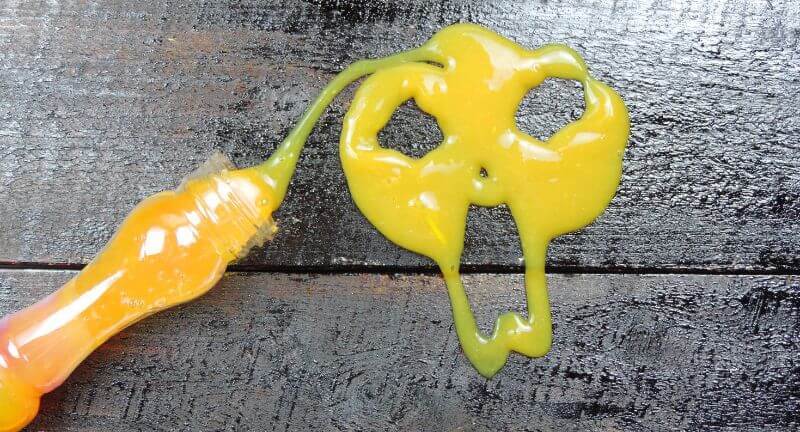
Students love to make things they can manipulate. Why not put a Halloween twist on slime or oobleck?
This activity would pair really well if you happen to be teaching a unit about states of matter.
There are multiple ways you can do this activity. Each group can be given a different slime recipe and they can make it or all groups can make oobleck. You could also make this an inquiry lab where students have to determine the best ratios when making the different substances.
You could even make this more fun by allowing students to add in some Halloween themed objects, such as green food coloring, fake eyeballs, or colored glitter.
3 – Candy Chromatography
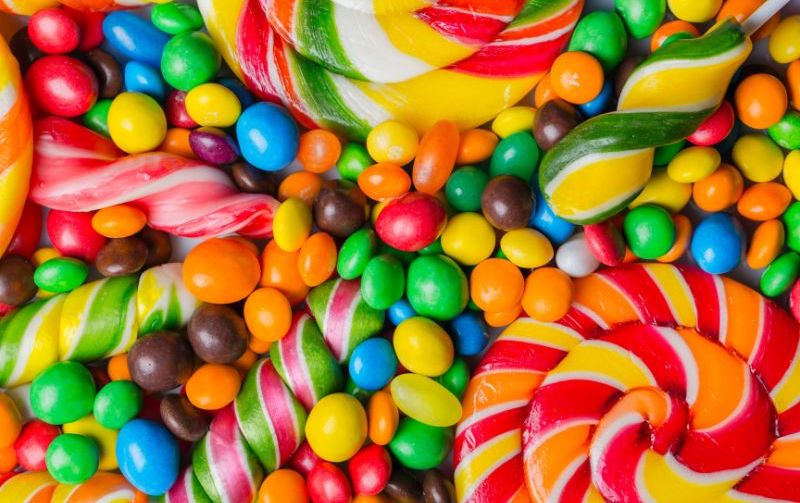
Put that Halloween candy to good use!
If you’re using it in class for learning purposes, then the students aren’t eating it, which prevents cavities. I call that a win-win situation!
Students will test out various colored candies. First, they will dissolve the different colored candies in water.
Once the candies are dissolved, they will need to place a piece of filter paper into the water. As the experiment runs, students will see the various colors that make up the pigment running up the filter paper.
I just thought of something very interesting!
Each group could use the same color of different types of candies to determine if the pigment separation is the same. If you try this, let me know how it goes!
This activity is not only a great way to introduce separation techniques for mixtures, but allows students to understand how food coloring is used in their favorite candies.
Higher level science classes will also thank you because you are introducing them to a concept that they can refer back to in their future studies!
4 – Halloween Genetics
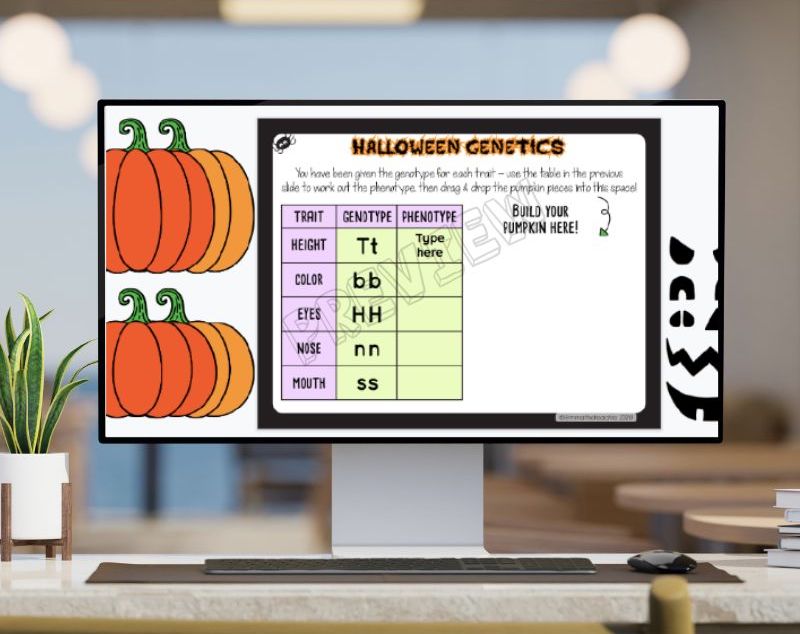
I don’t know about you, but I think genetics is an interesting topic for all students, regardless of grade level. You can also incorporate genetics into any holiday of the year.
I love creating resources for the holidays, which is why I created my Halloween Genetics Google Slides resource. The interactive activities include Fiendish phenotypes and creepy Punnett squares that will have your students cackling with joy!
They will even get to build their very own witch by working out the genotype and phenotype for each trait!
Here is a preview video of this spooky resource in action.
If you want an even deeper look into this resource and what it includes, then check out this previous blog post on teaching genetics using Halloween examples.
If you want no prep (and no mess!) Halloween Science activities, then this is it – you can get download this instantly from my store:
5 – Shrunken Apple Heads
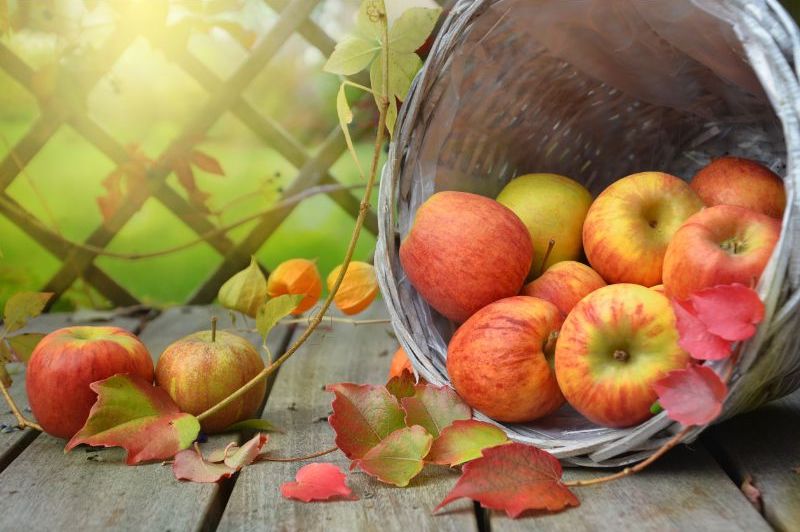
Ok – this is one of my favorite Halloween science activities and (truthfully) one of my students’ favorites, as well!
Shrunken apple heads are one activity that never fails to excite my students, as it’s something they haven’t done before. Students learn about dehydration and preservation, all while celebrating the spooky season!
You could have students bring in the apples, but I find it easier to do it myself because you want to make sure the apples are firm.
To begin, I have students sketch their face onto the apple with a pencil. Then, based on your comfort level, you or your students need to carve the apple’s face. The cut needs to be deep enough to expose the flesh, but not too much that the apple becomes fragile.
Now onto the preservation part!
To preserve the apple, students will soak it in lemon juice for a couple of minutes. After soaking, thread a piece of string through the top of the apple for hanging.
Finally, instruct your students to find a well-ventilated area, such as a dry basement or garage, to hang their apple heads. As the apples hang, they will become creepy shrunken heads!
As you can see, this is a fun and engaging Halloween activity where students witness the processes of preservation and dehydration. You could also take it a step further and engage your class in discussions about the role of moisture and microorganisms in the decaying process.
6 – Make Halloween Colored Flowers
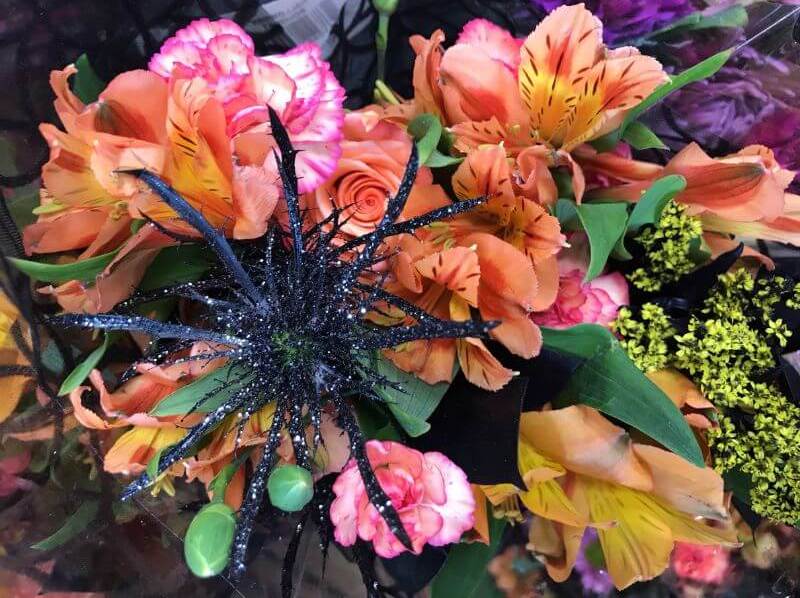
This activity is a little less on the spooky side, but still adds some Halloween magic to your lessons.
Students will be exploring the world of plant pigments as they change the color of flowers to Halloween inspired colors, such as orange, purple, green, and black.
All you need are some white carnations, water, food coloring, and containers to hold the flowers in.
Once the containers are filled with water, have students put some food coloring into the water. Then, put the white flowers into the water.
Now, they wait for the magic!
Through capillary action, students will be amazed as their flowers went from white to the color of their food dye.
From here, you can open discussion within the class about different variables, such as using too much or too little food dye, length of stem, etc…
And of course, this is a great opportunity to link to the properties of water! You can discuss how cohesion and adhesion facilitate the movement of water up the stem.
7 – Flying Tea Bag Ghosts
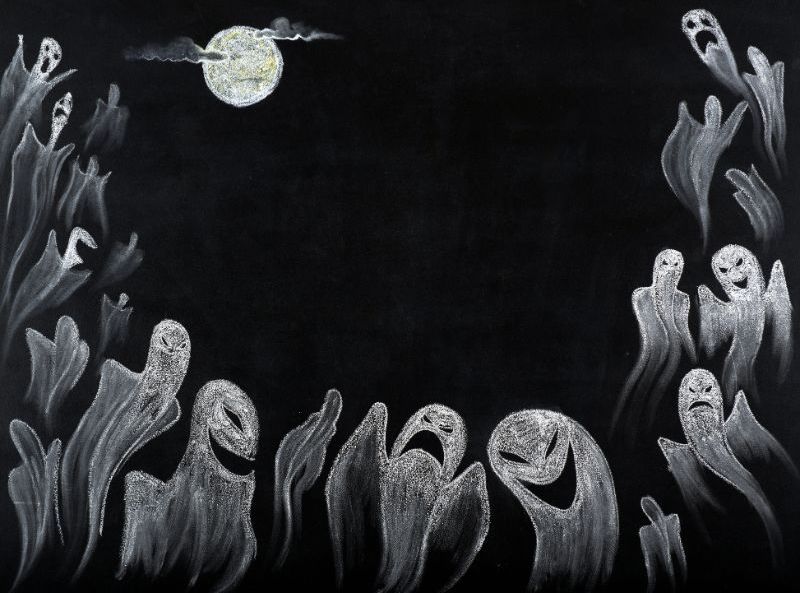
Bet you didn’t think you could incorporate convection currents, heat transfer, and the behavior of gases into Halloween!
Well, I’m here to tell you that you can!
Allow me to introduce you to the flying tea bag ghosts.
Begin by gathering the materials, which include:
- Teas bags (preferably ones without a string or tag attached)
- Scissors
- Lighter or matches
- Heat-resistant plate or tray
Next, have students empty the tea bags and draw a scary face on their “ghost.”
Then, students should stand the tea bag upright so it has the shape of a cylinder.
*WARNING* *WARNING* * WARNING*
The next part of this activity requires attention to safety procedures. Make sure students are aware of fire safety and that the ghosts are not under anything that can catch fire. They will fly higher than you think!
Safely light the top of the tea bag on fire with a match or lighter. As the tea bag continues to burn, your students will be amazed as the tea bag begins to lift into the air, as if it were a real ghost.
Be sure to let the ashes cool before cleaning up.
If you decide to complete this activity in class, here are a couple things to consider:
- Be sure to test it in advance, as not all brands of tea bags seem to fly before they’ve burned up
- thicker tea bags seem to work better.
Be sure to consider the safety aspect of running this. Here is a YouTube video to help you see how it works.
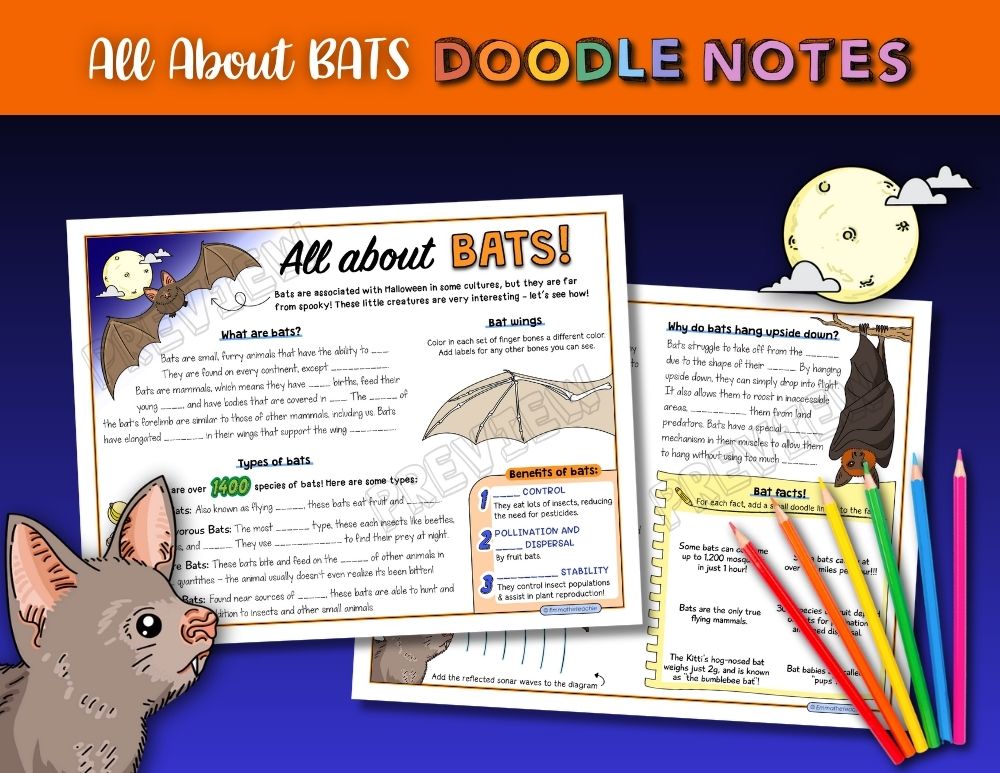
8 – All About Bats
October 24-31, 2025 is International Bat Week – how very appropriate!
These furry little friends may get a bad rep as being spooky.
But they are actually super important! They can eat up to their own body weight in insects each night, which helps to protect our food crops.
Share the importance of bats, and help them learn about these furry friends with my “All About Bats” Doodle Notes!
These are fun for students to fill in and take home – and for you, it is a low pre, mess-free Halloween lesson!
As with all my Doodle Notes, multiple versions and answer key presentation are included.
BONUS – Halloween Lava Lamps
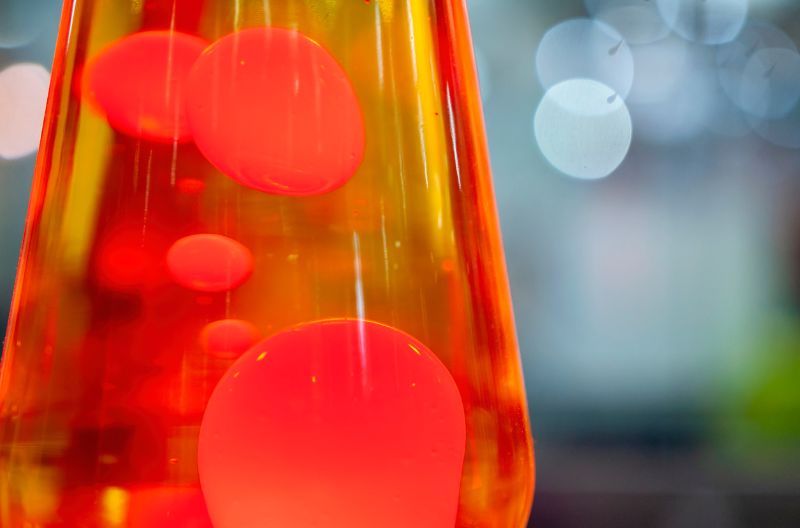
Who doesn’t love a good lava lamp? I know I do.
You might even have some students who don’t know what a lava lamp is… *gasp*
Not only will your students have a blast creating these eerie concoctions, but they will also be immersed in the topics of density, chemical and physical reactions, and the behavior of liquids.
All you need are some clear plastic bottles, oil, water, food coloring, effervescent tablets (Alka Seltzer), and Halloween themed items.
Students begin by filling the container about three-quarters full with vegetable oil and about one-quarter full with water. Then, they can add food coloring drops that are associated with Halloween, along with any other small Halloween items (e.g. ghost shaped confetti – yep, that exists).
Abracadabra … it’s time for magic!
Now, the star of the show is when you take an effervescent tablet, break it into pieces, and drop them into the container. Your students will be bubbling with excitement as they witness the mesmerizing lava lamp effect.
While students are witnessing this phenomena, encourage them to write down their observations, as well as any questions they have about the experience.
Be sure to follow-up with discussion points – which liquid was on top of the other? Why didn’t they mix? What happened when the Alka Seltzer was added?
Unleash Your Students’ Spooky Scientist Within

Halloween offers the perfect opportunity to combine the thrill of the unknown with the wonders of science. I hope you will find these classroom ideas entertaining, but also educational.
With a dash of creativity, a sprinkle of curiosity, and a pinch of friendly spookiness, you’ll unleash the scientist within each of your students and help them create unforgettable Halloween memories in the classroom.
Happy experimenting, and have a frightfully fantastic Halloween!
I hope you have a wonderful day,