6 Reasons Why I Love Using Google Slides in the Classroom
Ok, I’ll start with a disclosure. I’m a Google Slides convert.
When I first started teaching, all my lessons were paper-based, normally accompanied by a PowerPoint lecture. Occasionally, I’d be able to book out a set of iPads for my class, or take them to a computer room. That was always super exciting!
And then my school became a “Google School”. This meant every student suddenly had a personal Chromebook and our lessons needed to incorporate digital activities.
In the beginning, trying to use Google Slides just felt WEIRD. The keyboard shortcuts were different from PowerPoint. I didn’t know where to find different tools. Everything had different names. How would I ever make activities?
Yep, there was a BIG learning curve.
But now I love using Google Slides in the classroom.
Here are my top 6 reasons why – and why you will love using Google Slides too!
Reason 1: They allow you to use high engagement activities
Google Slides provide a wonderful place for creating highly engaging activities.
There are no printer limits on ink – so you can use colored images to really show biological concepts.
There are a variety of tools at your disposal: drag & drop, drawing shapes, adding text, highlighting text, etc. I like to mix up the activities, which keeps students engaged and motivated.
Here are a few examples of activities I have built on Google Slides:
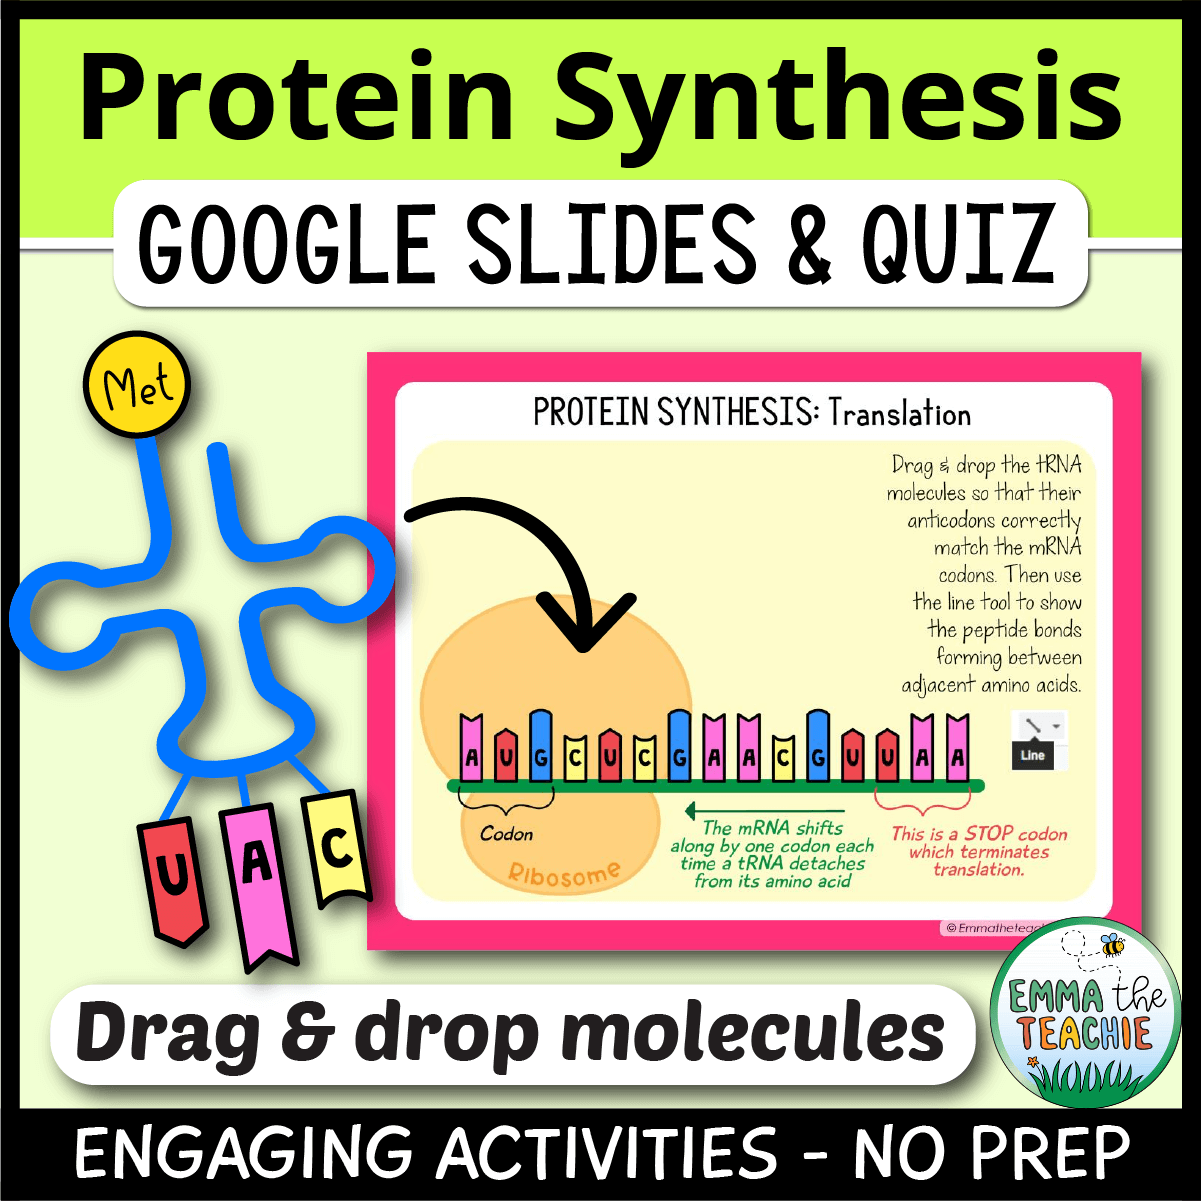
- Protein Synthesis: Drag and drop tRNA molecules to show protein synthesis in action – can you imagine how long this would take if students had to color, cut, and glue each tRNA molecule into place?!

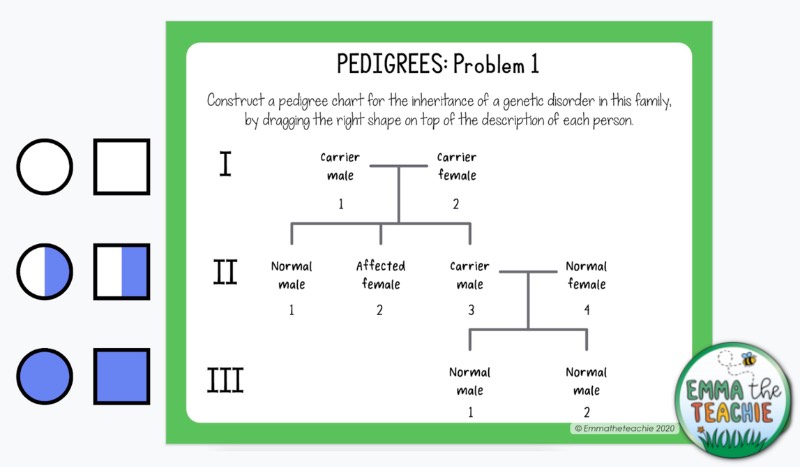
- Pedigrees: Construct a pedigree chart using shapes – we know how some of our students can obsess over drawing a perfect circle or square, and would probably spend a good 20 minutes drawing a pedigree chart. The speed of this drag & drop version means they will get more practice!
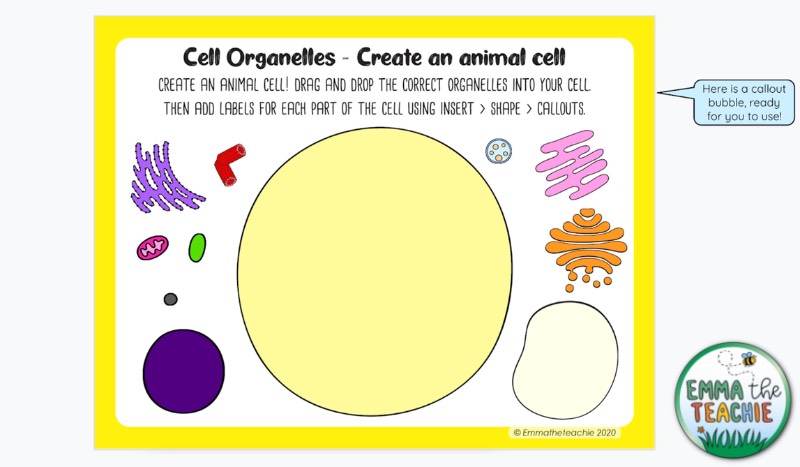
- Cell Organelles: Build an animal cell using drag and drop features, then label them – this is a super colorful and engaging activity after students have learned about the different organelles in a cell.
Google slides are also great for match-ups, crosswords, video links, wordfills, true or false – the list goes on and on!
Students really engage with the bright slides and interactive style of tasks. It keeps them on task and motivated, which brings me to my next point.
Reason 2: Google Slides promote independent learning
If you’ve read my post on 5 ways to turn your biology students into independent learners, you’ll know that I think independent learning is top-notch!.
During independent learning, students take ownership of their learning, learn to problem solve individually, and complete tasks on their own.
When my school became a Google School, I found that students became more accountable for their work. As long as I had written clear instructions for the activities, they were able to dive right in!

Something about being on a computer just seemed to give them the confidence to get to work, in a way that a scary-looking worksheet didn’t. And they were able to work through the slides at their own pace.
I LOVE this – you can do a quick “raise your hands if you’ve made it to slide 10” mid-way through the lesson. Then either scoop up those that are behind for a small group session (grouped seating works amazing for this) or individually visit and support those students who need it.
Honestly, at some points in my lessons, I almost felt bored! In these magic moments, all of my students were focused on their work and didn’t need my help!
Google Slides are great for promoting independent learning, as you can easily differentiate them to ensure all students are suitably challenged and supported.
Which brings me onto reason number 3…
Reason 3: They make differentiation easy
When possible, I like to make two differentiated versions of an activity. Google Slides makes this a breeze. I duplicate the slide, add in extra support, and – ta da – I have two versions of the same activity!
I usually call one the “challenge” version and the other the “support” version. These words have less connotations than “hard” and “easy”.
Here are some examples of activities you can differentiate:
- Labeling the organelles in an animal cell: have empty labels that students need to fill in; or have completed labels that students can drag and drop into place
- Meiosis word fill: have a version with empty text boxes for students to think of the missing words themselves; or have a version with a word box that students can use to complete the missing words.
- Natural Selection storyboard: students need to drag and drop pictures of natural selection into the correct order, then describe each stage; or have the pictures already in the correct order so students only need to write a description
I can assign both versions of the activity to allow for student choice.
Note: I always put the hardest version first, so that they give it a go. Then if they’re stuck, they can click onto the next slide and use the extra support.
Or, if it’s later in the year and I know my students well, I will decide which version I want each student to complete. This sounds hard, but it’s actually pretty easy.
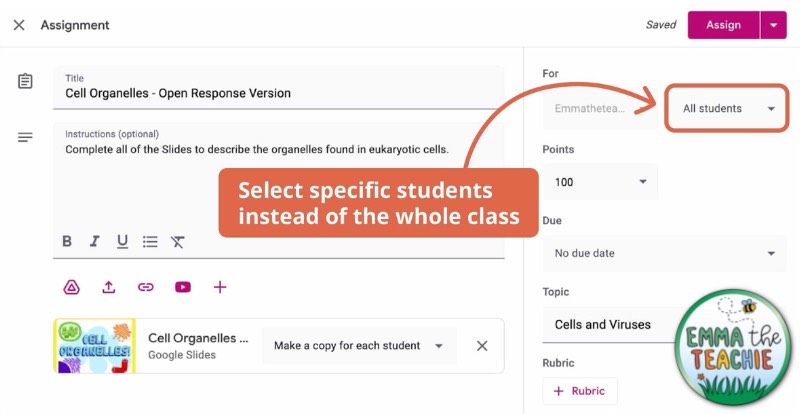
Here’s how to assign two versions of the Google Slides:
- Make a copy of the original Google Slides. Now you have two copies.
- Delete the more challenging versions of activities from one set of Slides and rename it, e.g. “Cell Organelles – Open Response Version”
- Delete the easier versions from the other set of Slides and rename it, e.g. “Cell Organelles – Fill in the Blanks Version”
- Create an assignment in the Classwork tab on Google Classroom
- Add one version of the Slides and then click the dropdown beside “All students” – select only the students you want to complete that set of Slides
- Repeat for the other set of Slides and the remaining students
Now you can have students working on different versions of the activities in the same lesson.
Reason 4: Google Slides are paperless

This is obvious, but so important to emphasize.
Working on a device = no paper – woohoo!
That means:
- No time spent at the copier
- No page limits
- No limits on using color in your activities
- No copier budget
- No paper jams
- No lost sheets
And that last one leads me onto…
Reason 5: No-more lost work

It is pretty much impossible for students to lose their work using digital activities. Google Slides are Cloud based, meaning they are stored on a server, rather than on a student’s computer. That means the files won’t get lost – ever!
Even if they are accidentally deleted, they can be recovered from the trash folder (within 30 days of deletion).
And if a student manages to mess up their Slides, they can use the “File > Version History > See Version History” feature to recover a previous version of their work.
Say goodbye to the excuses of “I lost my assignment”!
Reason 6: Google Slides are easy to assign and grade
Google Slides are easy to assign once you’ve got your Google Classroom setup. If you haven’t got this yet, then head over to my post Beginner’s Guide to Using Google Classroom for Your Biology Lessons.
Assigning Google Slides takes all of 2 minutes. Yep, it’s that fast.
Open up your Google Classroom and go to the Classwork tab. Click Create > Assignment and fill in all of the info:
- Title
- Instructions (optional – I personally don’t really use this, as all instructions are within my Google Slides)
- Points (if you’re grading it)
- Due Date
- Rubric (optional)
And then add the Google Slides by clicking the Google Drive icon.
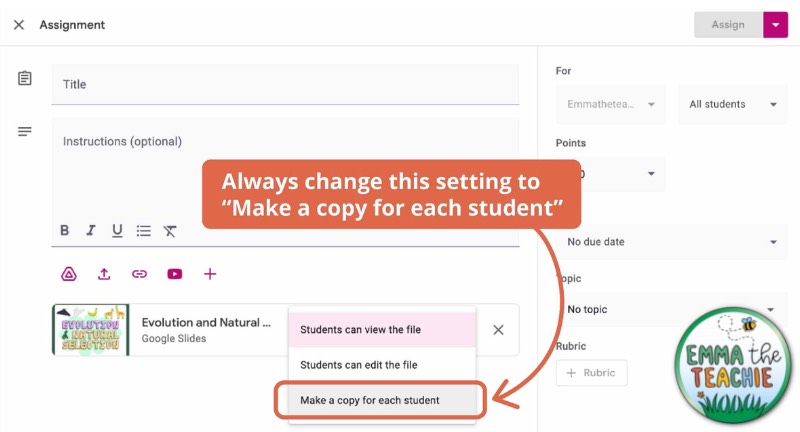
Make sure you change the drop down from “Students can view the file” to “Make a copy for each student”. This means each student will get their own copy of the Google Slides to work on.
When students are finished working on their Google Slides, they simply go to Google Classroom, find the assignment in the Stream or in Classwork, and click “Turn in”.
And now it’s ready for you to grade. You can add comments – with the option to create a comment bank for common comments that you want to reuse – and an overall grade.
You can also return the assignment to students (with or without a grade), get an overview of who has handed in their work, an overview of grades, etc.
All of this is done without having to collect any physical notebooks or binders! Amazing!
I love that it is stored digitally, so you don’t need to worry about keeping your gradebook safe.
Do you love Google Slides yet?
I love Google Slides and after reading this, I hope you will too! They are an amazing tool for the classroom. So if you are lucky enough to have devices in your classroom, give them a go.
Google Slides are:
- High engagement
- Great for promoting independent learning
- Easy to differentiate
- Paperless
- Impossible to “lose”
- Easy to assign and grade
If you need some ready to use Google Slides activities, then check out my shop.
I hope you have a wonderful day,


